Your Causes Behind Correcting a Dripping Faucet
Your Causes Behind Correcting a Dripping Faucet
Blog Article
The writer is making several great points on the subject of Leaky Faucets: Why They Happen & What to Do About Them overall in the article just below.
Leaking faucets could feel like a small trouble, however their impact goes beyond simply the nuisance of the noise. From drainage to incurring unnecessary economic expenses and health and wellness risks, overlooking a leaking tap can result in numerous repercussions. In this article, we'll explore why it's essential to resolve this typical house problem without delay and efficiently.
Wastage of Water
Environmental Impact
Leaking taps contribute substantially to water wastefulness. According to the Environmental Protection Agency (EPA), a single tap dripping at one drip per second can lose greater than 3,000 gallons of water each year. This not just pressures water sources but also affects environments and wild animals based on them.
Step-by-Step Overview to Taking Care Of a Dripping Tap
Tools Needed
Before attempting to deal with a trickling tap, gather the required tools, consisting of a flexible wrench, screwdrivers, substitute parts (such as washing machines or cartridges), and plumber's tape.
Usual Faucet Issues and Their Solutions
Recognize the kind of faucet and the certain concern causing the drip. Typical troubles consist of worn-out washing machines, corroded shutoff seats, or faulty O-rings. Describe manufacturer guidelines or on-line tutorials for detailed support on repair services.
Financial Costs
Increased Water Bills
Beyond the ecological impact, trickling taps can inflate water expenses significantly. The built up wastage with time equates right into higher energy expenditures, which could have been prevented with prompt repairs.
Prospective Residential Or Commercial Property Damage
Furthermore, extended leaking can cause damage to fixtures and surfaces surrounding the faucet. Water buildup can trigger discoloration, corrosion, and even structural problems if left unattended, leading to additional repair work costs.
Health and wellness Concerns
Mold and Mold Growth
The continuous presence of wetness from a leaking tap produces an optimal environment for mold and mildew and mildew development. These fungi not just compromise interior air quality however likewise pose health and wellness risks, especially for people with breathing problems or allergies.
Waterborne Illness
Stationary water in dripping faucets can end up being a breeding place for germs and various other virus, enhancing the danger of waterborne illness. Impurities such as Legionella microorganisms thrive in stagnant water, potentially resulting in major health problems when consumed or inhaled.
DIY vs. Professional Repair
Advantages and disadvantages of DIY Repair Work
While some may try to deal with a leaking faucet themselves, DIY fixings feature their own collection of obstacles. Without appropriate understanding and devices, DIY attempts can aggravate the problem or lead to incomplete repair work, extending the issue.
Advantages of Working With an Expert Plumber
Working with an expert plumber ensures that the underlying cause of the leaking tap is attended to efficiently. Plumbing technicians possess the expertise and tools to diagnose and repair faucet problems effectively, conserving time and minimizing the risk of additional damages.
Ecological Duty
Specific Contribution to Conservation
Taking obligation for taking care of trickling taps straightens with more comprehensive initiatives towards water preservation and environmental sustainability. Every individual's activities collectively make a significant influence on protecting priceless sources.
Sustainable Living Practices
By prioritizing timely fixings and taking on water-saving routines, individuals contribute to lasting living methods that profit both existing and future generations.
Preventive Measures
Normal Upkeep Tips
To prevent trickling faucets, execute regular maintenance such as cleansing aerators, examining for leakages, and changing damaged parts without delay. In addition, take into consideration installing water-saving gadgets or updating to much more effective components.
Significance of Prompt Repairs
Resolving trickling faucets as soon as they're observed protects against further water wastage and potential damages, ultimately saving both water and money in the long run.
Effect On Property Value
Perception of Well-Maintained Building
Keeping a residential or commercial property in good condition, including addressing upkeep concerns like leaking faucets, improves its perceived worth and charm among potential customers or occupants.
Influence on Resale Worth
Residences with well-maintained plumbing components, including taps, command higher resale worths in the real estate market. Resolving leaking taps can contribute to a favorable impact during property inspections and arrangements.
Final thought
Attending to a leaking faucet exceeds simple ease; it's a vital action toward saving water, lowering financial costs, and protecting health and wellness and building. Whether through DIY repairs or professional assistance, taking action to repair dripping faucets is a small yet impactful means to advertise accountable stewardship of sources and add to a much healthier, much more sustainable future.
How to Fix a Dripping or Leaky Faucet
A leaking faucet is one of the most common problems that homeowners encounter, but it being commonplace doesn’t make it any less annoying. The constant drip drip drip of a leaking bathtub faucet, showerhead, or sink tap can disturb your home’s serenity. Left neglected, a dripping faucet can also result in higher water bills and discoloration or mold growth in your sink or plumbing fixtures.
Fortunately, you don’t have to be a trained plumber to know how to stop a dripping faucet. With some basic tools, replacement parts, and a little patience, leaky faucet repair is a breeze. In this article, we’ll explain what causes dripping faucets and how you can fix them.
What Causes a Leaking Faucet?
Kitchen and bathroom faucets come in all manner of designs, but most involve some combination of valves, O-rings, seals, and washers. The O-ring is usually the weakest link, but any one of these pieces can wear down over time. Heat, moisture, temperature fluctuations, minerals, mold, and movement can contribute to warping and corrosion, breaking the watertight seal. This just comes with the territory of being a homeowner. Everything is always subject to wear and tear, and some component parts of your appliances and fixtures need to be replaced on occasion. At least replacement O-rings are cheap!
More rarely, dripping faucets can be a symptom of excessively high water pressure. Were this the case in your home, you would probably notice that the leak is not isolated to one faucet. Water pressure issues are harder to resolve on your own. We recommend contacting a professional plumber if you suspect your water pressure is too high.
How to Fix a Dripping Faucet
Pipe wrench or monkey wrench Allen wrench set Screwdrivers Old towel or rag Shut off the water.
Before you do anything, you need to turn off the water to keep from drenching your kitchen or bathroom. You should find a valve under the sink and against the wall. Once you’ve turned this valve, try turning the faucet on to confirm that the water source has been cut off.
If you can’t locate your local valve for the faucet you’re working on, you can always shut off the water to the house at the main valve. Of course, this will prohibit anyone from using the sinks, showers, or toilets while you’re working on the faucet that’s giving you trouble.
Plug or block the drain.
You’ll be disassembling the faucet and removing some small bits of hardware. Plug the drain with a stopper or rag to avoid the possibility of a small screw falling into your P-trap.
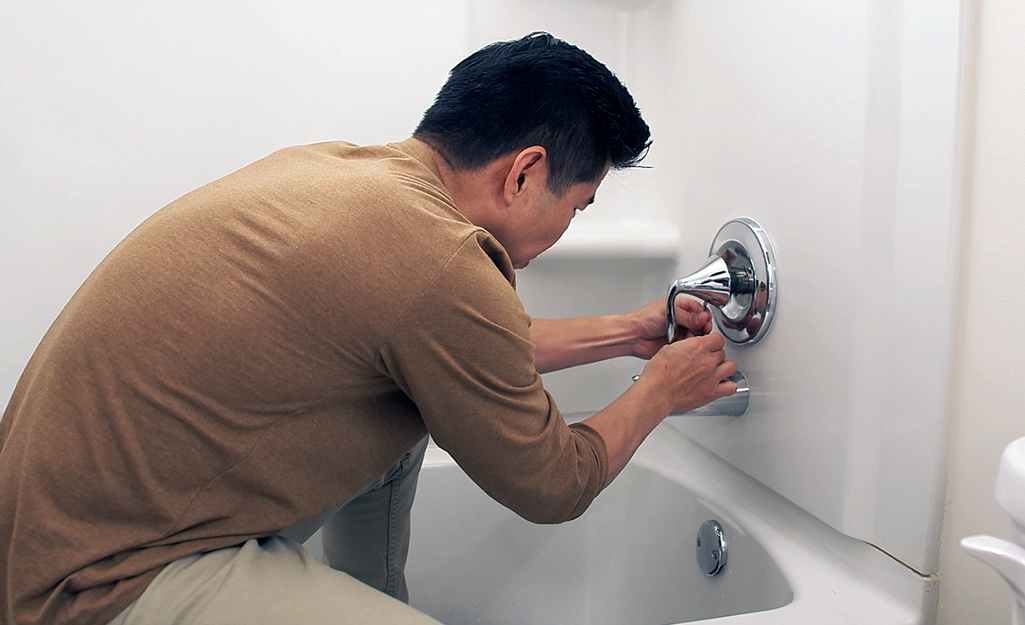
Take apart the faucet assembly.
There are several varieties of kitchen and bathroom faucets, each with its own manner of assembly. For detailed instructions on how to disassemble your faucet, you can refer to the fixture’s manual or contact the manufacturer. If you know whether you have a ball, disc, cartridge, or compression faucet, you can find detailed schematics online.
In general, you need to begin by removing the faucet handles. You might notice a small screw that you’ll need to remove with a screwdriver or Allen wrench. If you don’t see any visible securing hardware, it’s likely hidden under a decorative cap that can be unscrewed or popped off with flathead screwdriver.
Remove each piece methodically, consulting a schematic when necessary. Take notes or arrange the pieces in such a way to make it easier to correctly reassemble the faucet later.
Remove the cartridge.
Once you’ve removed the handles and securing hardware, you should be able to remove the valve cartridge or stem. Some cartridges will slide right out. Other faucet models will require you to loosen a nut with a pipe wrench before you can remove the valve stem.
Examine the exposed hardware.
With the cartridge or stem removed, inspect the component parts. Check the rubber O-rings for wear and tear. Also examine the seat washer for corrosion or other damage. These pieces are usually the responsible parties for a dripping faucet, but it’s worth inspecting the other component parts while you have the faucet disassembled.
Find replacement parts.
Once you’ve identified which faucet component has failed, find an identical replacement. Your local hardware store should have O-rings, seat washers, and other standard components in stock. If you have a luxury or uncommon faucet, you may have to contact the manufacturer for a replacement part.
It’s a good idea to take your old parts with you to the hardware store so you can compare them with the store’s inventory and be sure you’re purchasing the correct replacement.
Reassemble the faucet.
With your new parts in hand, reconstruct the faucet and handles. Don’t be tempted to overtighten screws or nuts. You might think this could create a better seal, but it can instead damage or bend a delicate part of the assembly and create a new problem for you.
Turn on the water and test the faucet.
The only thing left to do is test your work. Unplug the sink, turn the water back on, and try the faucet. Congratulate yourself on a job well done!
https://www.libertyhomeguard.com/how-to-fix-a-dripping-or-leaky-faucet/
We were guided to that write-up on through a friend on a different blog. Are you aware of somebody else who is interested in ? Do not hesitate to share it. Thank you for being here. Come back soon.
Report this page